
December 31, 2022
December 19, 2022
Bag with Initial & Name Abigail plus a Floral Illustration
|

May 28, 2022
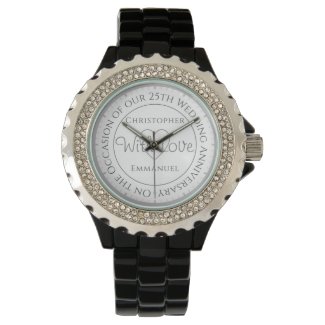
25 Years - Silver Wedding Anniversary Gifts
A gift for a wife, or husband, on the occasion of a silver wedding anniversary...

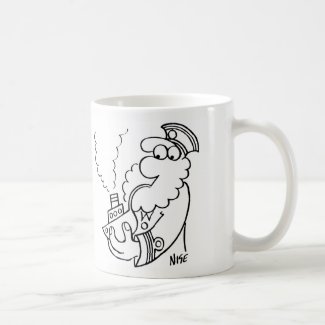
An old sea-dog smokes his pipe...
An old sea-dog smokes his pipe...
My cartoon available on a mug over at Zazzle. #zazzlemade
May 26, 2022
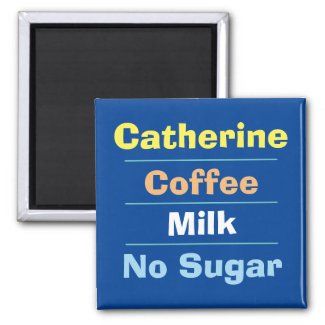
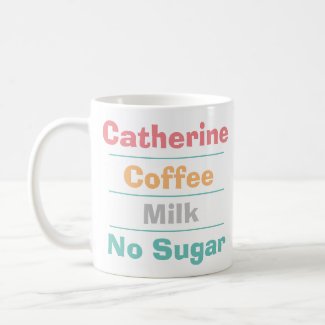
Display Your Drink Preference on Your Fridge or Mug!
Now you can display your drink preference on the fridge! A perfect item for work so whoever is making the tea or coffee knows your preference and whether you take milk and sugar. Simply customise to suit your style.
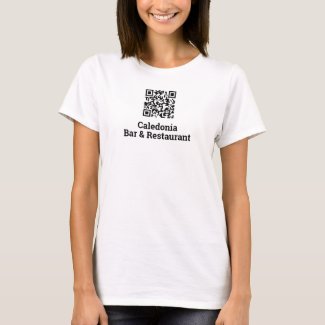
Add Your QR Code to a Zazzle T-Shirt: A Creative Way to Promote Your Business
Adding a QR code to a Zazzle T-shirt is an easy and effective way to turn your clothing into an interactive marketing tool.
Whether you want to link to your blog, online shop, portfolio or social media, a QR code printed on your custom T-shirt allows people to scan and connect instantly using their phones.
Why choose Zazzle for your QR code T-shirt? Zazzle makes it simple to upload your own designs, add custom text, and choose from a wide range of shirt styles, colours and sizes.
Their high-quality direct-to-garment printing means your QR code stays sharp and scannable - essential for reliable use in real-world situations.
With my template it is easy to include a QR Code on your bespoke t-shirts.
Simply visit a site such as www.qr-code-generator.com to create a QR Code to download. Then upload and replace on Zazzle.
Change the shirt's wording to suit that of your business. Try it yourself via the link below. #zazzlemade
Whether you're heading to a conference, craft fair or casual meetup, a Zazzle T-shirt with your QR code is a fun and functional way to get noticed. Try making one today and see how it helps people find your content with just a scan!
P.S. Like this tip? Click the “Follow” button in the side panel to get more practical ideas like this delivered straight to your Blogger feed!
May 25, 2022
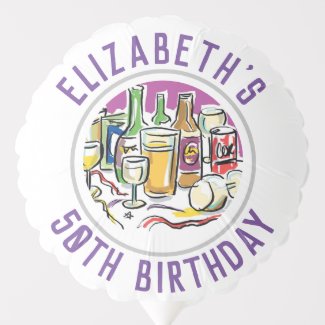
My Latest Personalised Birthday Balloon Designs
I've designed a range of birthday balloons that can be personalised with a name and age. A perfect gift for a special birthday occasion! #zazzlemade
May 24, 2022
Artists - Make Money Selling Your Own Greetings Cards from Home!
Follow this blog by clicking the button at the top of the sidebar →
(or beneath this article if you’re viewing on a mobile device).
UPDATE! I have now taken the plunge and purchased a fantastic printer that will print onto card directly. (Most printers are not able to print onto card.) The printer is the Canon Pro-200. It's a bigger beast than most printers, but prints super photo-quality from 8 cartridges up to size A3. It prints perfectly onto the pre-scored Greetings Card blanks that I buy in packs of 50, with accompanying envelopes, about which I give more details further down this article.

I bought the printer via Amazon, and had hesitated for ages before making the decision to purchase. Then one day I saw that they had dropped the price by £20 so that was it. I ordered one!
I have absolutely no regrets. It prints like a dream directly onto my greetings card blanks. I print wirelessly from my MacBook laptop.
I worked out that I wouldn't have to sell many cards to recoup the cost, so to me it was a sound investment!
View the Canon Pro-200 on Amazon
UPDATE November 2024: I've had this printer for a year now, and I still bloody love it!
Disclaimer: All the items shown on this page I have purchased from Amazon and I have added links so you can view more information on their website. As an affiliate I earn a small commission from any items sold, which makes no difference to the price you pay! I buy from Amazon because it is a doddle to buy repeat orders, I have an Amazon Prime account so I usually don't have to pay postage, and generally items are shipped fast - often I receive them next-day!
The other thing I've added to my armoury since originally writing this article, is a Greetings Card Display Stand. I chose a table-top style design so that I can show the cards off at Craft Fairs and Markets.

Greetings Card Display Stand on Amazon
If you don't have a printer that can print onto card stock, you can still use the method below which served me well for several years:
Previous Article:
I sell hundreds of Greetings Cards, made by myself, at home, and sold via the Etsy platform, which brings me a nice regular weekly income.

I'm now going to show you how I make these cards, and the equipment and materials I use to make that process so easy.

Make Your Own Greetings Cards
I start with Greetings Card blanks. The packs I buy come in 50s, are pre-scored for folding, and include accompanying envelopes.
Card Blanks with Envelopes on Amazon
The cartoons I have on my cards are printed onto photo paper using my ink-jet printer. I am able to print each cartoon design 2-up on an A4 sheet.

I buy the inkjet paper 100 sheet packs which works out at very good value.
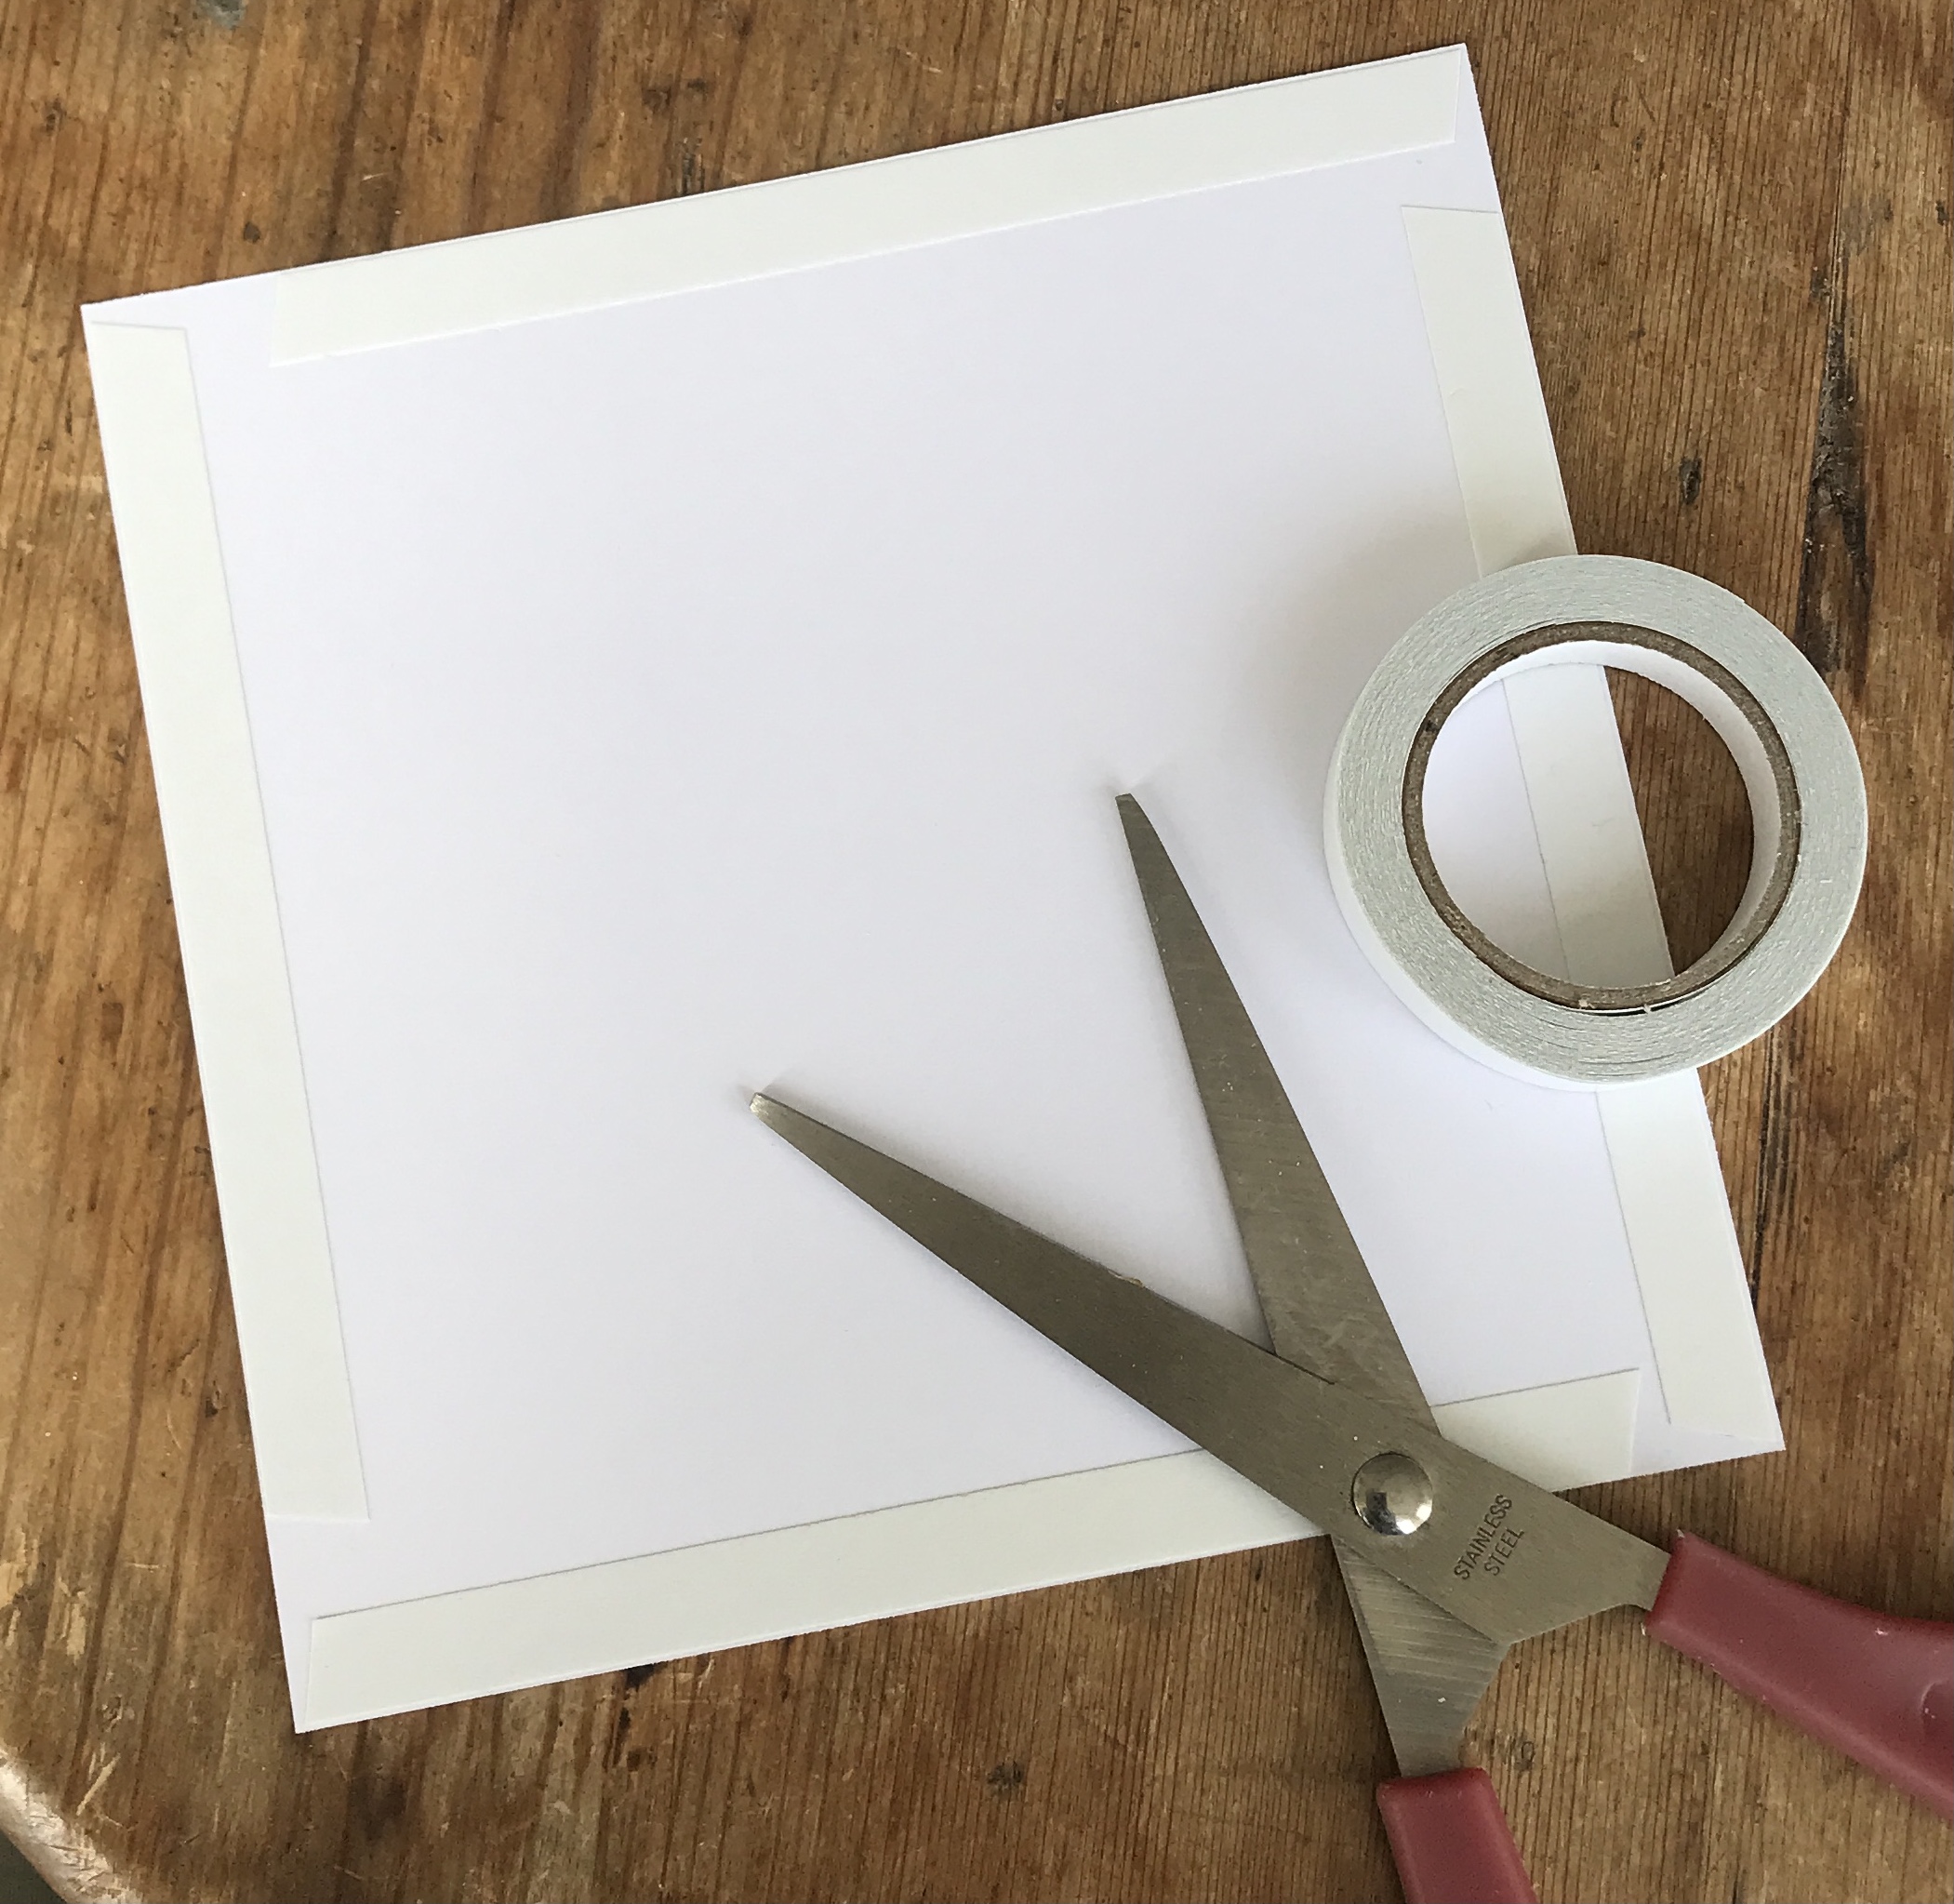
Once the image is printed you can cut to size using an artist's scalpel and cutting mat. As I create so many cards, I have invested in a Dahle Personal Trimmer.


I've had mine for years and wouldn't be without it! The cartoon images I print are created with a square border, which makes it easy for me to line up and trim by eye.
Dahle Personal Trimmer on Amazon
Now that the image is cut to size, it needs to be stuck to a card blank. I've found that by far the neatest, cleanest and most reliable method of adhering each cartoon print to a card is by using double-sided tape. It is so simple. I run a strip along each of the 4 edges, remove the backing, and line up by eye before fixing in place. There's no bubbling or warping that you can get with glue!
Once I have created a card, I add my little sticker to the back, (more about this below), and then wrap it, together with its accompanying white envelope, in a transparent sleeve that is just the right size for the product. I buy sleeves that are bio-degradable which I find is something that is generally very much appreciated by the purchasers. A good selling-point! In fact a lot of the kind feedback I receive mentions the wrapping. Funny as its something that is just discarded.

Biodegradable Sleeves on Amazon
My final touch to add some branding to my cards is to print off stickers that carry my business name. I have two versions. The first version shows my business name and website, which I apply to the back of each greetings card I make, as mentioned earlier.
I have a second version which includes the informative wording "Card is blank inside", which I add to the transparent card sleeve.

With Etsy, I obviously have to post each order out to the customer in an envelope. I also slip a personal thank-you note in. The envelopes I use for this are C5 size, which is just right. The packs of ordinary manilla envelopes I buy are quite cheap too.

Update: I am now using card-backed envelopes for extra rigidity. I can purchase these in boxes of 100, so the cost is low.
Card-Backed Envelopes on Amazon
Etsy lets you print pre-paid and addressed labels directly with each order. That is such a boon. I just print to my inkjet printer, apply to the item being posted, and drop into a nearby post box. The Post Office call this "Click & Drop". Again I buy my labels by the box from Amazon. There are 2 on each sheet. Once one is printed, I peel it off and use it. The other label remains on the sheet and can be printed on for the next order.

And that's it! Ive just shown you how to produce quality cards, beautifully packaged and branded, that you can sell easily via platforms such as Etsy, or even directly to your local craft shops. I've created a large range of cards myself that I sell regularly which you can see here.
Note: I buy all the materials I use through Amazon. The delivery is fast, and as I subscribe to Prime, it means I don't incur delivery charges. I've supplied links to the items on Amazon so you can easily read more information about each product, but you can buy from other suppliers of course. I am an affiliate of Amazon, which means I earn a commission if anyone buys from a link, but that doesn't affect the cost to you in any way.